In a world where solar technology evolves rapidly, upgrading your home energy system isn’t just about efficiency—it’s about safety, smart monitoring, and future readiness. In this detailed guide, I explore a full replacement of an InPhase solar setup with a Hoymiles combiner box, including the AC disconnect and connections to the main load center.

Whether you’re a seasoned DIYer or simply curious about how pro-level solar installs happen, this breakdown offers insights you shouldn’t miss.
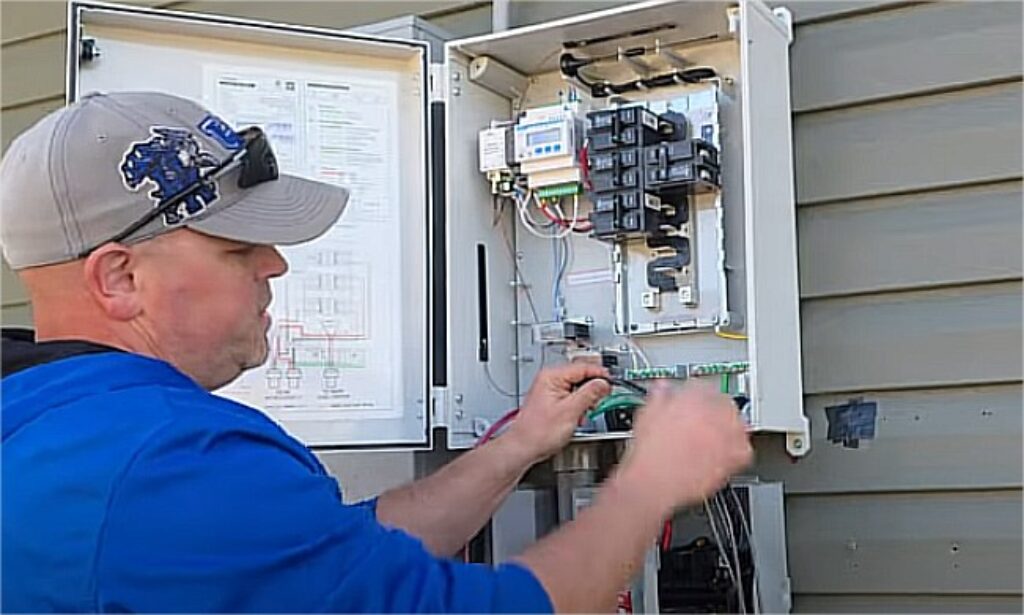
Safety First: Confirming Zero Voltage Before Installation
The first rule of solar installation? Never skip safety checks. The presenter begins with a critical step: confirming that all breakers are off and that no voltage exists on the solar circuit branches.

- Always test all lines for zero voltage before touching any component
- Turn off all relevant breakers at the main panel and subpanels
- Use a reliable voltage tester or multimeter
This isn’t just protocol; it’s life-saving. DIYers often overlook this step, but it’s essential to prevent shock hazards during installation.
Removing the Old and Installing the New

Swapping out the old InPhase box for the Hoymiles model is a transformative step, not just an upgrade. The Hoymiles combiner box brings several built-in advantages:
- Integrated CT sensors for accurate energy monitoring
- Waterproof seals for outdoor durability
- Clean layout with intuitive breaker slots
The removal process involved safely detaching the old connections, followed by mounting the Hoymiles box and aligning it with conduit entry points. Attention to detail during this stage ensures minimal stress on wires and longer system longevity.
Wiring Best Practices: Breakers, Grounding, and Lugs
Wiring the new combiner box correctly is both art and science. The presenter explains the significance of matching the right breaker to the panel type, especially when using styles like Eaton BR or CH.
- Use compatible breakers to prevent poor connections
- Size your wires correctly: #4 gauge was used in this case
- Add neutral lug kits when your neutral wire is larger than the panel’s default capacity
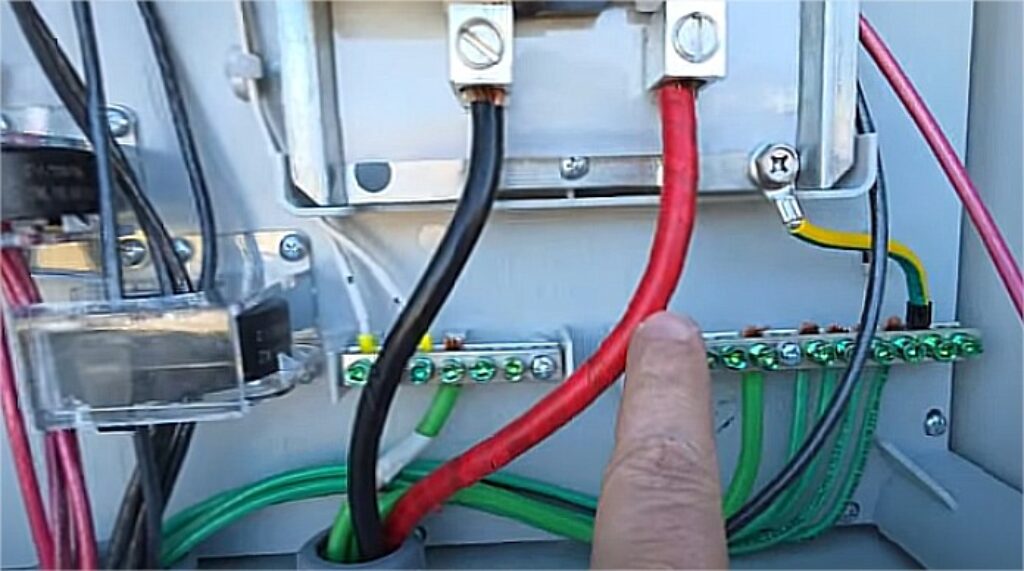
Also critical: install your ground wires first. It provides structural stability and reduces clutter as you work through the rest of the connections.

CT Sensors: Monitoring Made Smarter
A standout feature of the Hoymiles combiner box is its built-in Current Transformers (CTs). These aren’t just extras—they’re essential for real-time production data and system diagnostics.

- Ensure CT arrows point toward the grid
- Place them on the correct feeder cables for accurate readings
- If unsure, call Hoymiles technical support for guidance
Properly installed CTs allow you to monitor solar output, troubleshoot system issues, and optimize performance in various weather conditions.
Follow the Diagram and Ask Questions
One of the smartest takeaways from this installation? Trust the diagram. I refer to the schematic printed on the inside of the combiner box panel door.
- Follow manufacturer diagrams strictly
- Confirm unclear slot assignments with support
- Don’t assume—always double-check
This practice helps prevent mistakes that can lead to power inefficiency or damage to your solar investment.
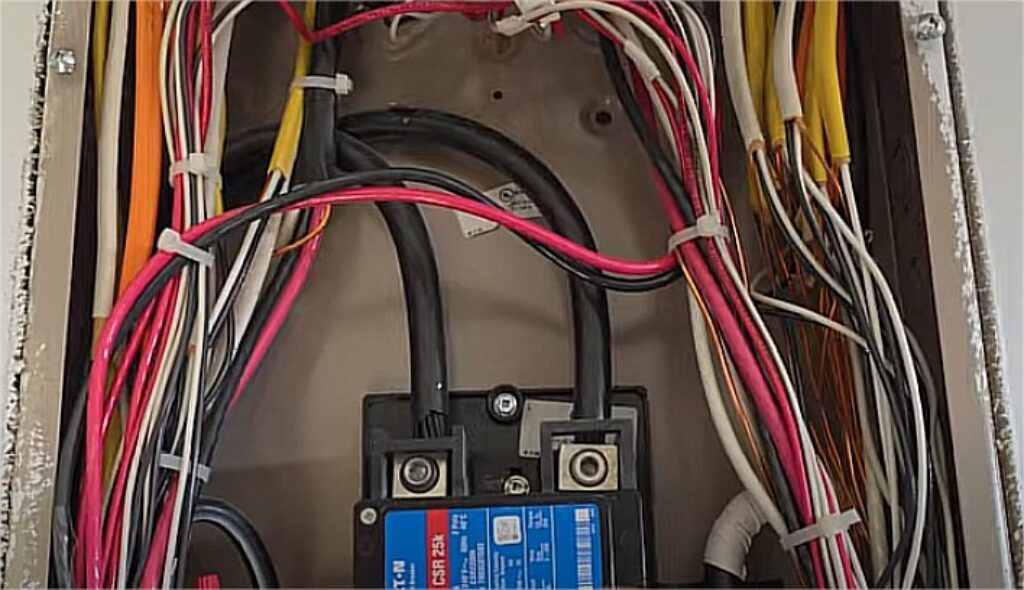
Final Tips: Workflow and Pro Support
Even experienced installers benefit from a disciplined workflow. This includes:
- Connecting in sequence (ground, then neutral, then hot wires)
- Only torqueing connections once all wires are properly seated
- Zip-tying wires for a clean finish
Most importantly, the presenter emphasizes that he is not a licensed electrician and urges viewers to seek professional help when in doubt. This honest approach reinforces the importance of knowing your limits.
Key Benefits of Hoymiles Solar Systems
Once fully installed, the new Hoymiles system stood out for:
- Superior build quality
- Seamless monitoring via CT sensors
- Modular design for easy upgrades
- Compatibility with battery backup systems
Hoymiles doesn’t just simplify solar setups—it empowers homeowners to future-proof their energy systems.
Conclusion: Upgrade with Confidence
Replacing your solar combiner box isn’t a simple task, but with the right tools, knowledge, and product choice, it becomes a rewarding upgrade. Hoymiles delivers on both technical precision and real-world usability, making it a top pick for those ready to enhance their solar infrastructure.
When you install with safety, follow diagrams, and use quality components, you not only meet code—you raise the bar on performance.