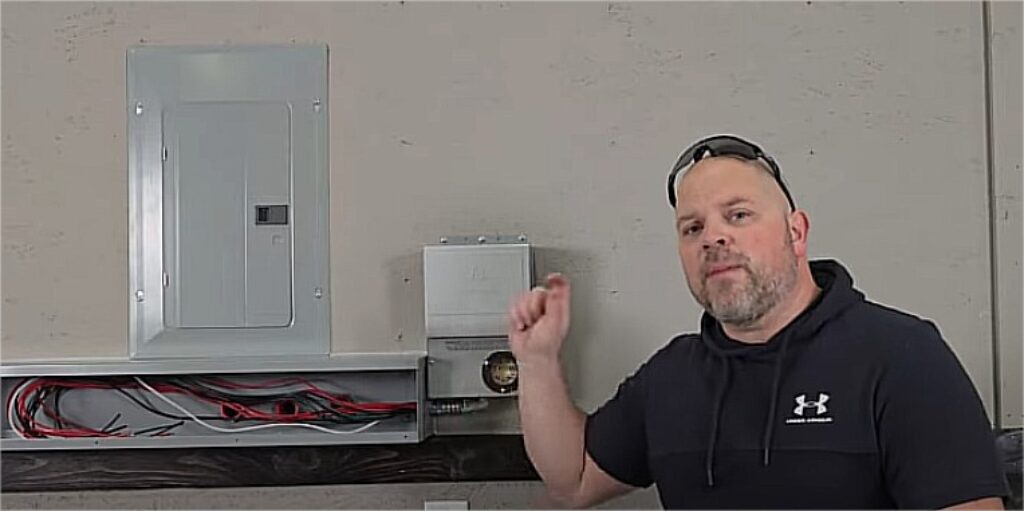
When the lights go out or you need off-grid power for your workshop, having a dependable backup solution is essential. In this guide, I will walk you through a practical, DIY-friendly method to install a 30-amp transfer switch into a service panel. Whether you’re running your shop with a generator or a portable power station like the Oupes Mega 2, this setup ensures uninterrupted power when you need it most.
Let’s explore how you can safely connect a transfer switch, what tools and parts are required, and how to make the most of your backup system—without hiring a certified electrician.
What Is a Transfer Switch and Why Do You Need One?
A transfer switch allows you to safely switch power sources between your main utility grid and an alternative power source like a generator or power station. For DIYers and workshop owners, this is a game-changer.
Here’s why it matters:
- Eliminates the risk of back-feeding electricity, which can be fatal.
- Allows selective control over critical circuits, such as lighting, outlets, and tools.
- Supports flexibility, especially when connected to modern battery stations.
The Oupes Mega 2, for example, becomes a complete off-grid solution when paired with a properly installed transfer switch.
Getting Started: What You’ll Need
Before diving into the install, gather your components and tools. I ensure you with a smoother process and minimizes downtime.
Hardware Checklist
- Transfer Switch: Reliance Pro/Tran 2, 30-amp model
- Circuit Breakers: Replace 15A with 20A as needed
- Wire Connectors: WAGO 221 for 12-gauge wire
- Electrical Cord: 10 ft., 30-amp rated
- Conduit: 18″ with protective sleeves
Tool Kit
- Wire stripper/cutter
- Screwdrivers (4-way)
- Drill with step bit (if not using panel knockouts)
- Safety gear: gloves, eye and ear protection
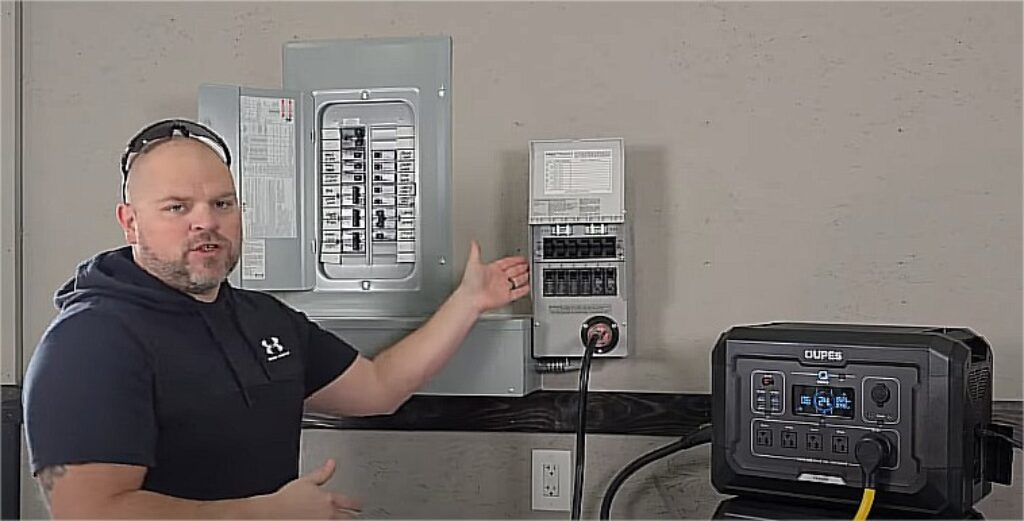
Circuit Planning: Know What You’re Backing Up
Before touching your panel, determine which circuits are mission-critical. In this case, the installer backed up:
- Two 15-amp lighting circuits
- Four 20-amp outlet circuits
Each one serves different areas of the shop, ensuring that lighting and power tools stay functional during outages.

You’ll need to:
- Match new breakers to your panel’s brand (e.g., GE TQL for GE panels)
- Remove or replace existing breakers as needed
- Confirm your transfer switch can handle your power load
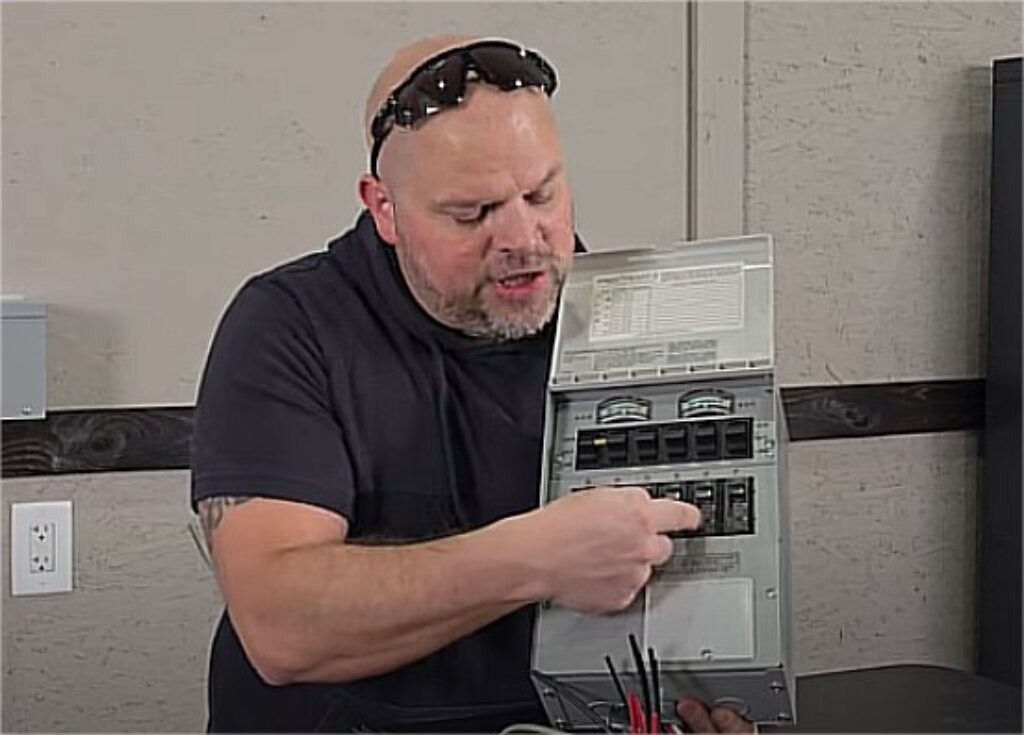
Inside the Transfer Switch: What Comes in the Box?
Reliance Pro/Tran 2 models come nearly complete, making the install beginner-friendly. Here’s what’s included:
- User Manual
- Outdoor Power Inlet (for generator connection)
- Adapter Plug (20A-rated)
- Electrical Fittings and Wire Nuts
- 18″ Pre-wired Conduit
- Transfer Switch Unit
- 10 ft 30A Cord
It even comes pre-wired with 10-gauge wires for the 30A main input and 12-gauge wires for the individual circuits. This wiring setup simplifies installation, especially when pairing it with battery stations like Oupes Mega 2.
Step-by-Step Installation Overview
Let’s walk through the major steps to get your transfer switch up and running. Always turn off power at the main panel before working with live components.
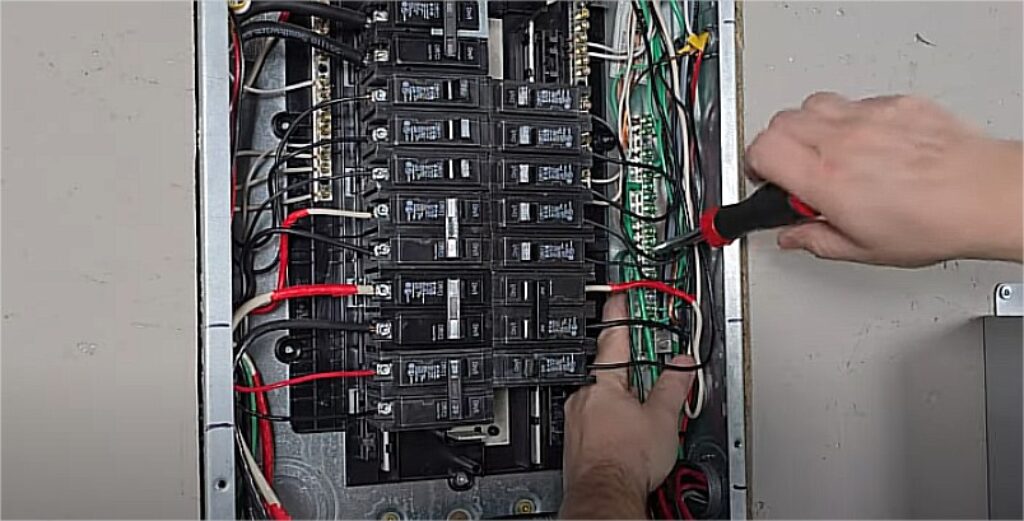
1. Panel Prep & Breaker Swap
- Remove unnecessary 15A breakers
- Replace with 20A GE TQL breakers (or equivalent)
- Disconnect bridge bars if separating dual breakers into singles
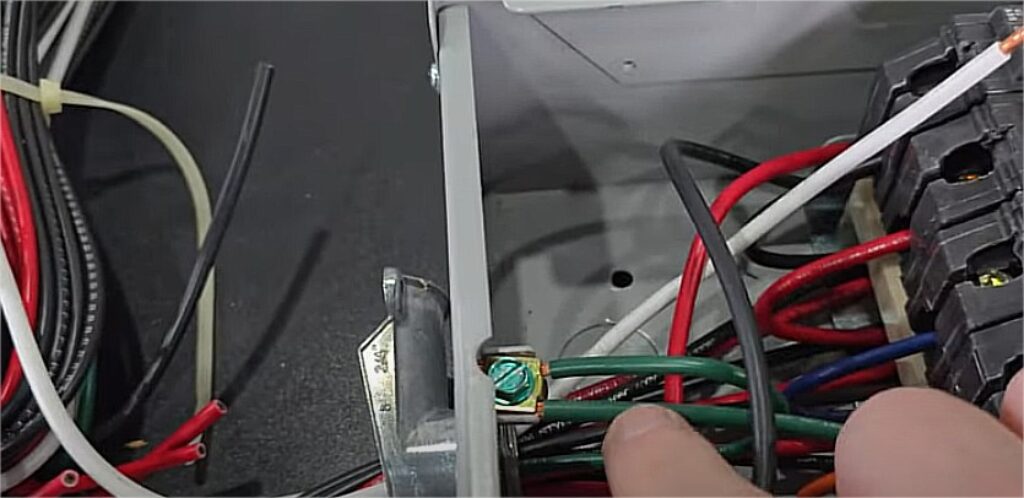
2. Install the Ground Wire
- Connect to the grounding bar inside the subpanel
- Ensure proper torque and compatibility between wire gauges
3. Run Conduit and Wires
- Drill access into your panel or electrical trough using a step bit
- Insert conduit, securing it with internal locknuts
- Feed wires through protective sleeve to prevent snags
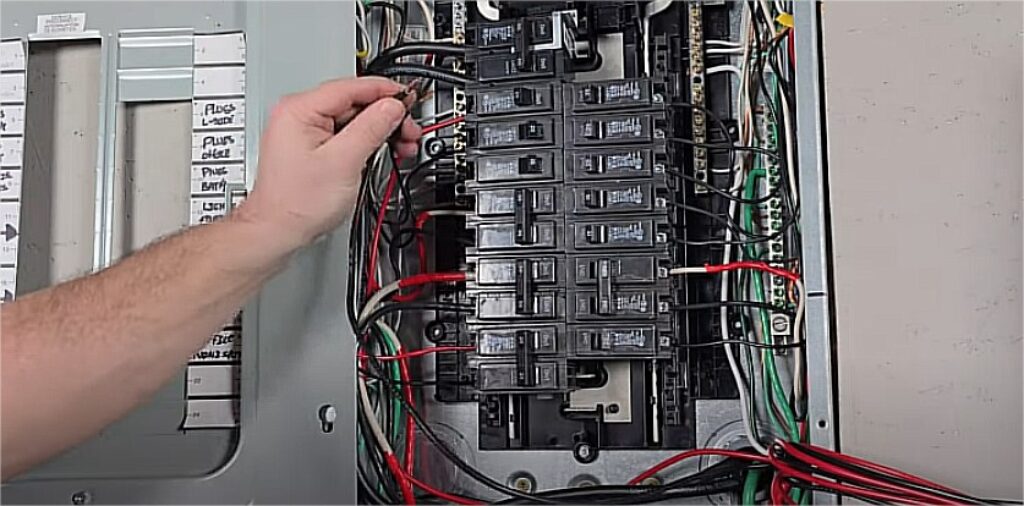
4. Make Circuit Connections
- Match colored wires (Red/Black) to their corresponding labeled breakers (A-F)
- Connect neutral (white) and ground (green) wires to the appropriate bus bars
- Use wing nuts instead of WAGO connectors for thicker 10-gauge wires

5. Reconnect and Test
- Mount the transfer switch back on the wall
- Double-check all connections
- Power on the generator or power station
- Flip breakers and test each circuit one by one
Safety Note: This tutorial assumes you’re working on a subpanel. If you’re working on a main panel, your bus bars may remain live even with the breaker off—use extreme caution.
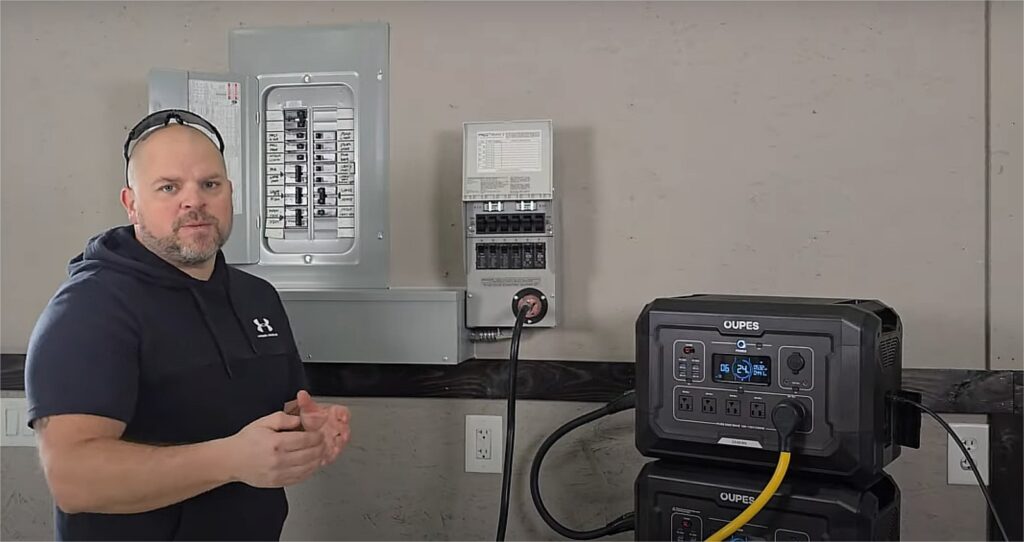
See It in Action: Powering the Shop with Oupes Mega 2
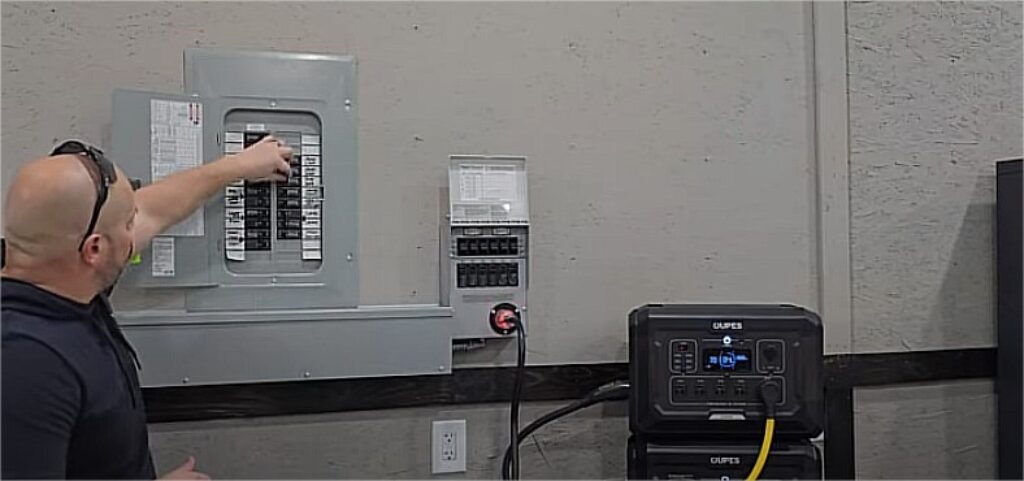
Once everything is connected, the real magic begins. Using the Oupes Mega 2 power station:
- 25 ceiling lights ran smoothly from one 20A lighting circuit
- Four outlet circuits were powered simultaneously
- The generator setting on the switch activated backup mode instantly
What’s even cooler? When utility power drops, the shop remains fully functional using only battery backup—no need to scramble in the dark.
Final Thoughts: Is DIY Transfer Switch Installation Worth It?
Absolutely—if you’re confident and cautious.
Installing a transfer switch can:
- Save electrician fees
- Provide energy independence
- Empower you to maintain operations during outages
But it’s not for everyone. If you’re unsure, always consult a licensed electrician.
Key Takeaways
✅ You’ll need:
- A reliable transfer switch (30A is sufficient for most workshops)
- Matching breakers and wire connectors
- Basic tools and safety gear
✅ You’ll achieve:
- Full circuit-level control during outages
- Seamless integration with power stations like Oupes Mega 2
- A smarter, safer backup setup
Whether you’re a DIY enthusiast, off-grid prepper, or workshop owner—this install can be a game-changer.