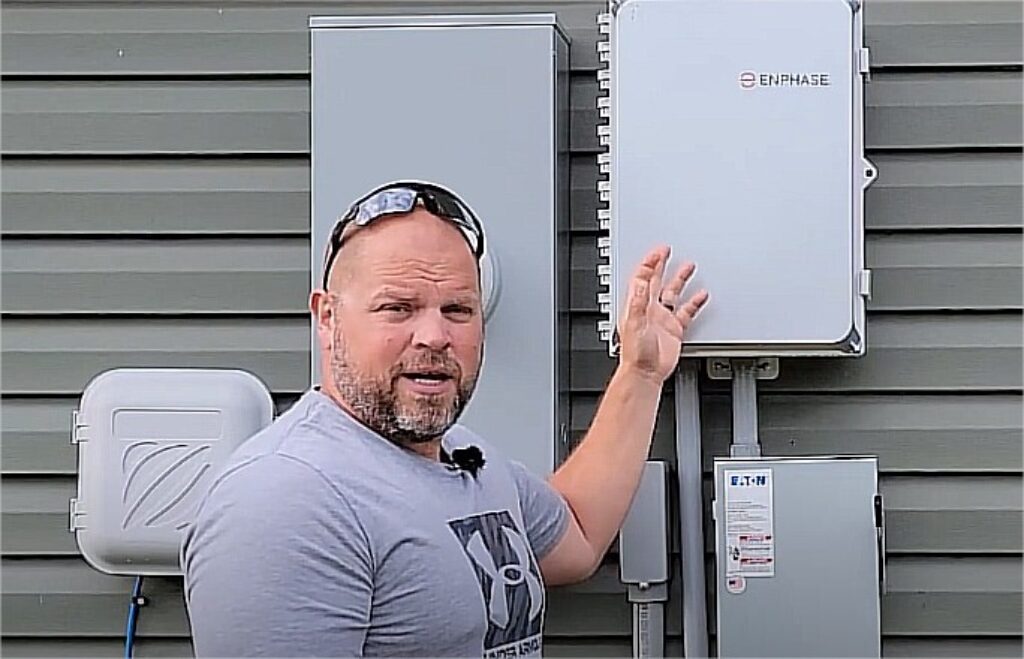
Harnessing the sun’s power through a solar energy system isn’t just environmentally smart—it’s also a technical feat that, with the right guidance, anyone can master. In this comprehensive walkthrough, we break down the detailed process of wiring a solar combiner box to a solar disconnect and integrating it with your main panel. Whether you’re a DIY enthusiast or just exploring solar system components, this guide will simplify the complex.
Choosing the Right Equipment for a Code-Compliant Setup
When installing a solar electrical system, starting with the right gear is half the battle.
- The Eaton DG222NRB disconnect box stands out for its compatibility and ease of installation.
- Always match your components to the specifications outlined in your electrical diagram.
- Using standardized equipment avoids complications down the road, especially when meeting local electrical codes.
Proper planning at this stage minimizes rewiring risks and ensures that each element will fit together smoothly when it comes time to connect everything.
Mastering Drilling, Conduits, and Adapters with Precision
Wiring begins long before any wire is pulled—it starts with precise drilling and careful conduit installation.
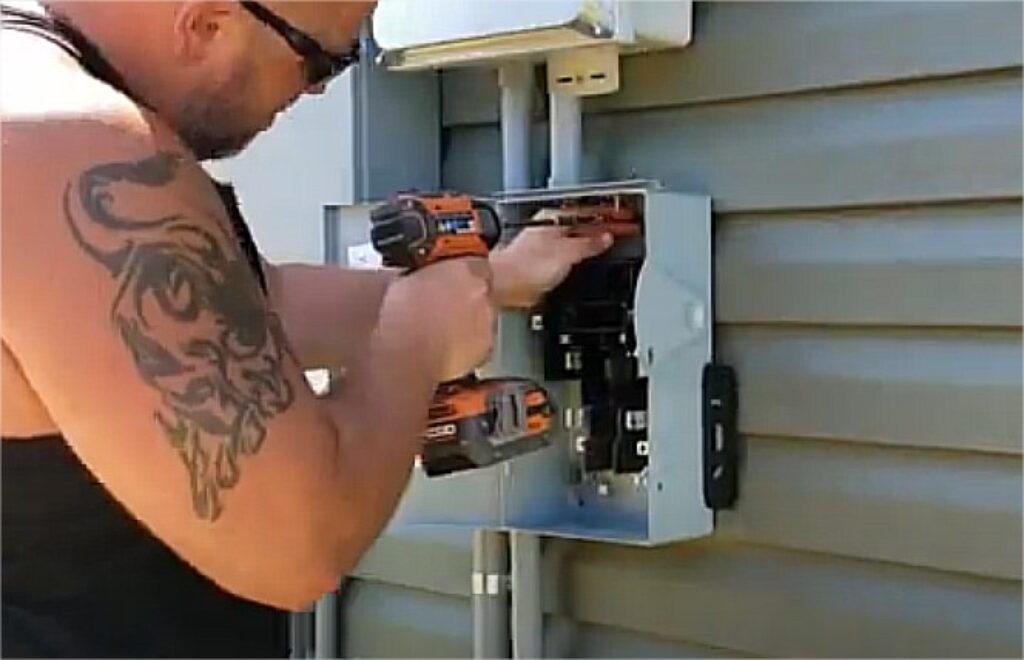
- Metal adapters must be aligned and fastened tightly without damaging enclosure walls.
- Conduit placement, especially when penetrating metal boxes, requires patience and exact measurement.
- Use Schedule 80 conduit outdoors for durability, while Schedule 40 is sufficient for indoor use.
These physical preparations are not just structural; they influence the safety and longevity of the entire solar setup.
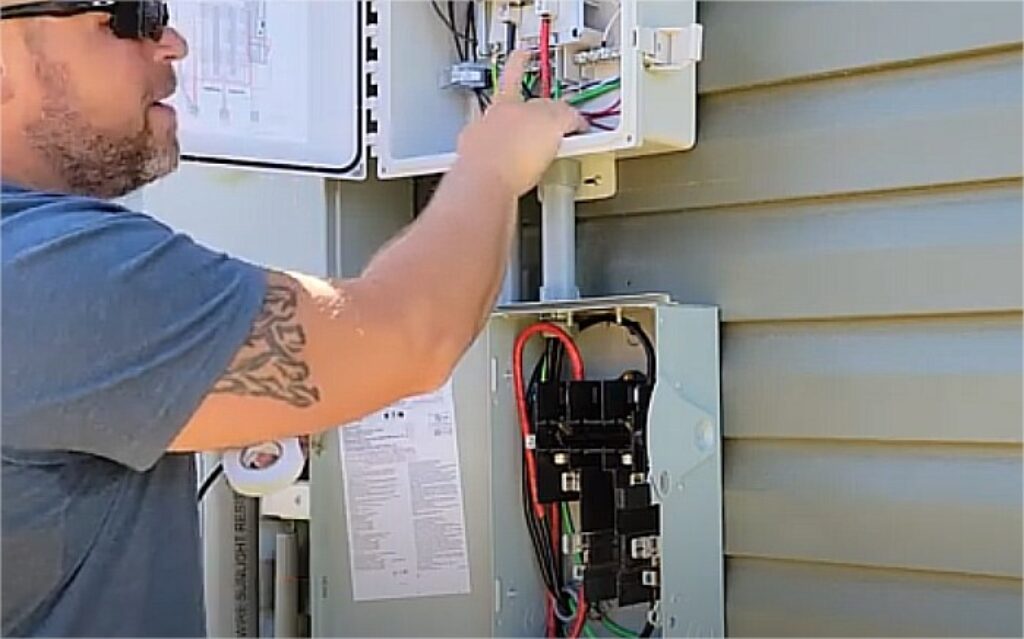
Wiring: Labeling, Routing, and Safety First
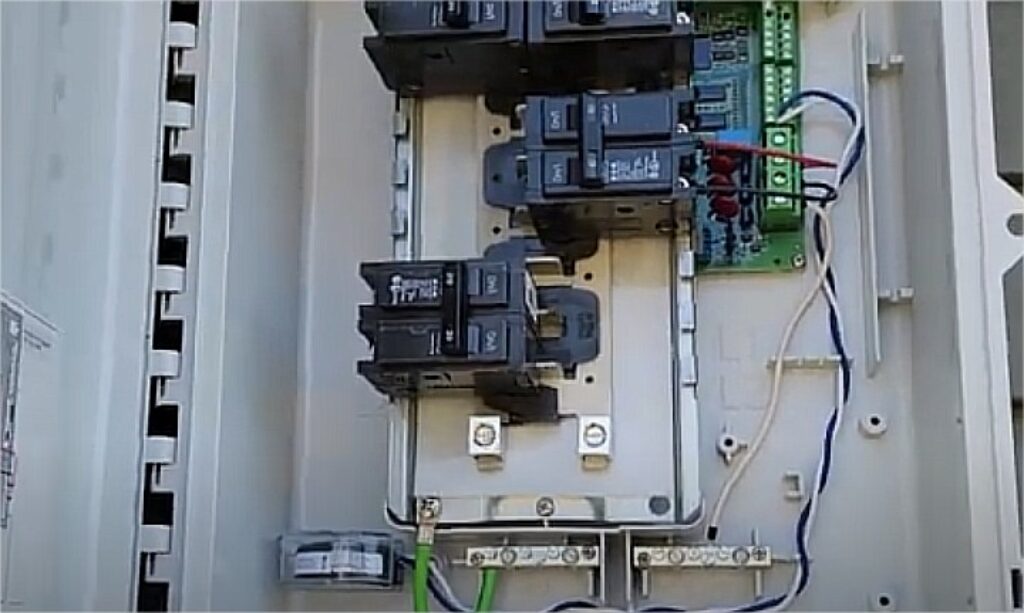
With holes drilled and conduits in place, the next step is to route your wiring—and clarity is key.
- Hot lines (L1 and L2), neutral, and ground wires must be routed separately and clearly.
- Due to wire color shortages, black wires labeled with colored tape (red for L2, white for neutral) were used.
- Always use solid wire without splices, especially for ground connections.
Well-labeled wiring reduces confusion, especially during future maintenance, and ensures the system runs safely and efficiently.
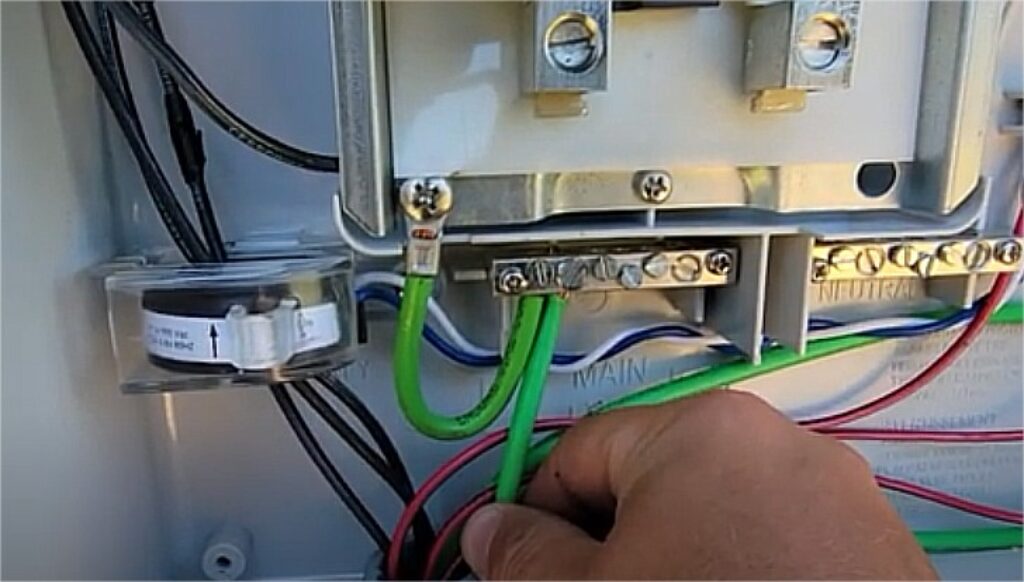
Grounding and Bonding: The Backbone of Electrical Safety
Grounding isn’t just a technical requirement—it’s what protects your system and your home.
- Ensure that the racking system is properly bonded and grounded using unbroken solid wires.
- Avoid using stranded or spliced wires for grounding.
- Each ground connection must run cleanly from the racking through the combiner and disconnect to the panel.
Proper grounding keeps your solar system within code and protects against surges and faults.
Organization and Cost-Efficiency: Plan Smart, Build Smarter
Beyond physical installation, smart sourcing and planning can enhance both budget and efficiency.
- Use electrical diagrams provided by your solar software to guide every step.
- Purchase materials like fuses, bushings, and tools through reputable online platforms for better prices.
- Keep wires neatly organized using bushings and clamps to avoid messy, unsafe wiring.

Good organization not only speeds up installation but also makes troubleshooting much easier.
Final Thoughts: Built for Real-Life Versatility
This hands-on guide reveals how a complex solar wiring setup becomes manageable with the right tools, mindset, and attention to detail. By combining theory with real-world problem solving, the process becomes far more approachable.
- Stick to code-compliant components and grounded wiring practices.
- Trust diagrams over improvisation.
- Don’t cut corners—especially on safety or material quality.
Whether you’re setting up a small backyard array or a full-scale system, mastering these steps lays the foundation for clean, efficient, and safe solar power generation.